Replacing your lawn with fresh sod can transform your outdoor space, creating a lush and inviting environment. However, the success of any sod installation hinges significantly on the preparation work that precedes it. Properly preparing your yard ensures that the new sod thrives, providing a vibrant green landscape for years to come. Here are some essential tips to help you get ready for residential sod replacement.
Assessing Your Lawn
Before diving into preparation, take a step back and evaluate your current lawn conditions. Look for signs of damage or disease, such as patchy areas, yellowing grass, or persistent weeds. Identifying these issues early allows you to address them before laying new sod. If you notice widespread problems, consider engaging professional sod installation services that can provide expert guidance tailored to your specific situation.
Next, understand the soil composition in your yard. Conducting a soil test can reveal pH levels and nutrient deficiencies, which are critical for determining what amendments may be needed before installation. Healthy soil is foundational for strong root growth and overall lawn vitality.
Clearing the Area
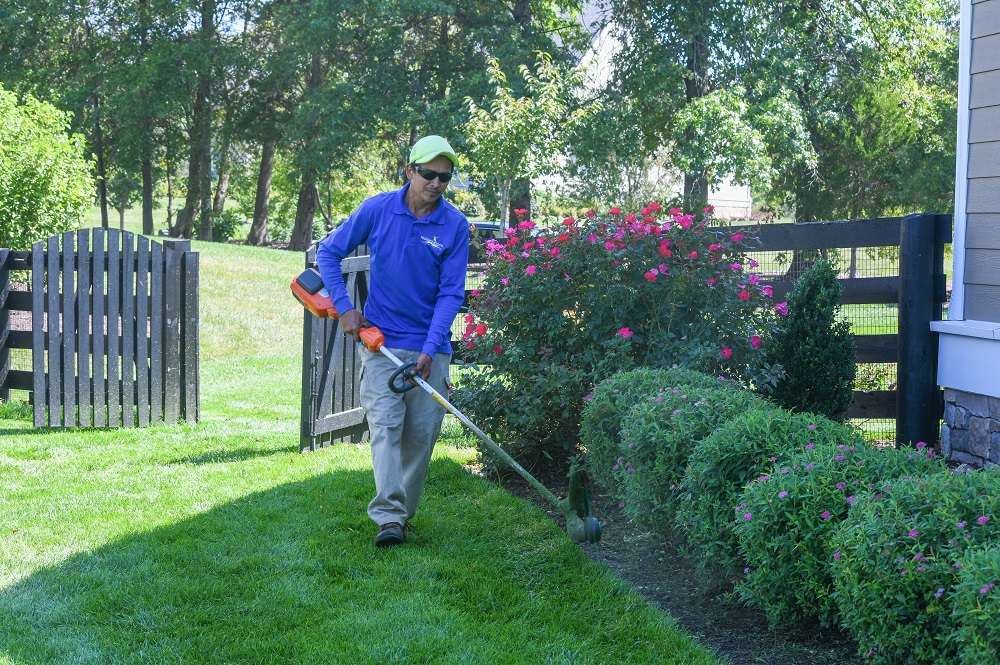
Once you've assessed your yard and identified any issues, it's time to clear the area where the new here sod will be laid. This process involves removing existing grass, weeds, and any debris that could hinder the growth of your new lawn.
Start by mowing existing grass as low as possible to reduce competition for nutrients. After mowing, use a sod cutter or shovel to remove old sod in strips or sections. For areas heavily infested with weeds or damaged grass, applying a non-selective herbicide may be necessary before removal. Be sure to follow instructions carefully and allow adequate time for any chemicals used to dissipate before installing new sod.
Don't forget about rocks and other debris scattered throughout your yard. These can create uneven surfaces that make it hard for new sod to establish itself properly. Make an effort to clear out any obstacles and ensure a smooth surface before proceeding.
Grading the Soil
A well-graded yard promotes effective drainage and prevents water pooling, which can lead to root rot in newly installed sod. To achieve proper grading, aim for a slight slope away from structures like homes or patios.
Using a rake or shovel, level out any dips in the soil while also filling in low spots with additional topsoil if necessary. As you grade the area, keep an eye on overall drainage patterns; ideally, rainwater should flow away from structures and toward designated drainage areas in your yard.
If you're uncertain about how much grading is needed or how to achieve it effectively, consider consulting with professionals experienced in residential sod installation who can provide insights based on their expertise.
Amending the Soil
Once grading is complete, it’s time to amend the soil according to what your earlier tests revealed. Adding organic matter such as compost not only improves soil structure but also enhances nutrient content and moisture retention capabilities.
For sandy soils that drain quickly but do not hold nutrients well, mixing in organic material helps create a more balanced environment for root establishment. Conversely, clay soils may benefit from gypsum or similar products that enhance drainage while breaking up compacted particles.
Ensure that amendments are worked into the top few inches of soil thoroughly so they integrate well with existing material—this fosters healthier root development once the new sod is laid down.
Installing Edging
To define spaces within your landscape clearly—such as flower beds versus grass areas—consider installing edging around those zones before laying new sod. Edging not only provides visual appeal but also helps prevent grass encroachment into garden beds over time.
Materials like steel edging or natural stone create durable barriers that withstand wear from lawn maintenance activities over the years. Installing edging creates clean lines while simplifying future landscaping tasks.
Choosing the Right Type of Sod
Selecting appropriate sod varieties tailored to local climate conditions is crucial for long-term success. Research different types of grasses suitable for residential lawns in your area; this might involve looking at warm-season grasses like Bermuda or fescue varieties better suited for cooler climates.
When purchasing sod from suppliers or through professional sod installation services, ensure that you're getting high-quality turf free from pests and diseases. Pay attention not only to grass type but also thickness and color; healthy turf should feel dense underfoot while displaying vibrant green hues without browning patches.
Timing Your Installation
Timing plays an essential role when replacing sod; different seasons present distinct challenges regarding establishment rates and growth potential. Ideally, spring or early fall offers optimal conditions due to moderate temperatures combined with consistent rainfall—these factors help young roots adapt quickly without stressing over extreme heat.
However, if summer is inevitable during replacement efforts due diligence becomes paramount; keep freshly laid rolls watered adequately during hot spells until they establish firmly within their new environment.
Laying Down New Sod
Now comes perhaps one of the most anticipated parts: laying down fresh rolls of turf! Begin by aligning pieces alongside one another tightly without overlapping edges; staggering joints between adjacent rows minimizes gaps which could allow weed infiltration later on.
Using a sharp knife can help trim edges around curves neatly; this maintains an aesthetically pleasing finish across all sections of installed turf while ensuring maximum contact between newly laid pieces against prepared ground below them.
After installation is complete—take care when walking across newly placed rolls until they have established good root connections! Regular watering during initial weeks aids successful integration into its surroundings; aim for moist yet not soggy conditions during this period until roots have anchored themselves firmly below ground level!
Final Maintenance Steps
With fresh turf now installed within its designated area—the final steps involve ongoing maintenance practices vital towards nurturing healthy growth patterns moving forward! Establishing consistent watering routines paired alongside recommended fertilization schedules helps support robust greenery during formative stages after initial placement occurs!
Be vigilant about monitoring potential pest infestations since young grasses remain susceptible early on—addressing problems swiftly can mean preventing larger issues later down road ahead!
Consider hiring professional lawn care services if managing these tasks feels overwhelming initially as they possess expertise necessary towards attaining desired results efficiently without compromising quality standards throughout entire process involved!
By following these practical steps diligently—from assessing existing conditions through thoughtful preparation all way until final maintenance routines established—you position yourself successfully towards achieving beautiful lush landscapes idealizing dream outdoor spaces envisioned personally every day ahead!